
| Windows Service to upload documents into SharePoint Note: You must have WSUploadService installed on the SharePoint server to use this Windows service. Details of this web service can be found here. 1. Download Setup file and run setup.exe. This will install the windows service on your machine. During installation, it will ask you to enter your domain userid and password. Userid is required to upload files to the SharePoint. Make sure you have "Contributor" rights in the destination SharePoint site otherwise you will get "401: Unauthorized" error. 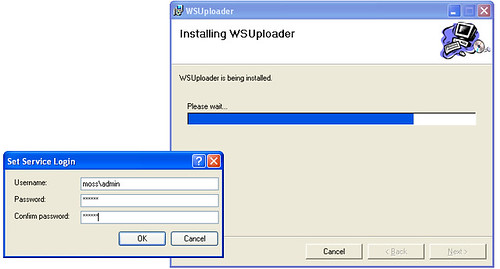 2. Setup will install "wsuploader.config" file in "System32" folder (LocalDrive:WindowsSystem32). This is a text file and can be opened in any editor. This file contains settings for the Windows service. Being a full time employee, I can not spare enough time to give professional touch to my applications. I know I could have provided a better way to manage the settings but for the time being, let's stick with the text file. Open this file in notepad. It will have 5 lines. First line contains the time interval. Currently, the time interval is set to 20 seconds. Windows service checks the source folder every 20 seconds. Following are the contents of the text file:
3. After making changes to the "wsuploader.config" file, start the service. Go to Control Panel > Administrative Tools > Services. In the list, find "Uploader" service. Right click it and select "Start" to start the service. 4. You can check status message (and error messages) in the event log. Go to Control Panel > Administrative Tools > Event Viewer. Select "WSUploadLog" to view status messages. 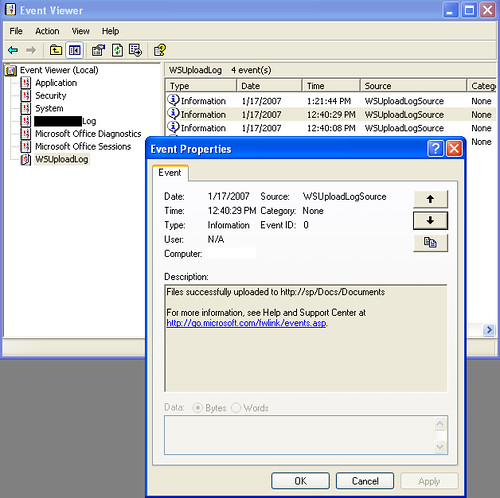 Applications There are many applications for this Windows service. I have been developing SharePoint solutions for the last 4 years and I have often seen people asking for the automation solutions. People want to automate simple processes in their organizations. Some applications of this service are as following: 1. Suppose some one wants to auto upload auto generated reports to SharePoint. All he has to do is set the time interval in the configuration file and set the source and destination folders. WSUploader service will automatically upload all files. 2. This service can be used to upload files generated by a scanner. Modern day scanners are capable of performing batch operations and generating output files in bulk. Simply, set the scanner's output folder as the source folder in WSUploader service and WSUploader service will do the rest. 3. This service can be modified to include the OCR functionality to convert the files generated by the scanner into text files before uploading them into the SharePoint. This gives us advantage to index files in SharePoint. Download Setup Download Source Code |

No comments:
Post a Comment